This home has been restored to it's former grandeur, after surviving several hurricanes, including Camille and Katrina. The furnishings are fabulous, but the trompe l'oeil decor on the walls and ceilings is a show-stopper!
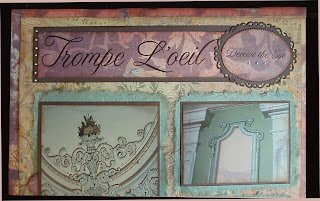
Trompe l'oeil translates as deceiving the eye, and this representation definitely does it. The scrolls and flourishes as well as the recessed areas look like cast plaster, but those walls are definitely flat. I wanted to create a scrapbook page that would showcase this beautiful work. I knew I wanted to use large photos with hidden journaling, muted colors and one of my new Spellbinders dies. While searching through my paper stash for the perfect prints, I happened across a small sheet of pale blue/green mulberry paper and knew I had to use it. I wanted torn edges, but keeping everything straight with not one, but three pieces of torn paper is a challenge. The KellyCraft Get-it-Straight Laser Square saved the day.
Mulberry paper does not tear in a straight line, so alignment is chancy at best, and if you aren't going to tear it to show off the beautiful fibers, there's no sense in going to the extra expense. The solution is to line up the edges of the layered photos with the edge, of the printed paper, not the mulberry paper.
Here's how I did it:
Materials
KellyCraft Get-it-Straight Laser Square
Printed paper or card stock, 2 complimentary sheets, 12" x 12" (Cosmo Cricket and Anna Griffin)
Brown cardstock, 12" x 12", (Stampin'Up!® Chocolate Chip)
Oval die cut (Spellbinders Nestabilities 'Floral Ovals' Metal Dies )
Die Cutting Machine (Spellbinders Grand Calibur)
Pearl Pen, Light Green (Viva Décor)
Ink, Chestnut Roan, (Colorbox Chalk Ink)
Lavender ink pad (Tim Holtz Distress Ink pad, Milled Lavender)
Punches, Corner Rounder and Scalloped Oval (Stampin'Up!®)
Scissors
Double sided adhesive (Kool Tak Premium Extreme, 3/8")
Instructions
 |
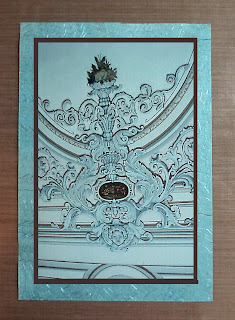 |
3. Print your photos and layer them onto brown card stock. Ink edges of both photos and card stock with Chestnut Roan ink. |
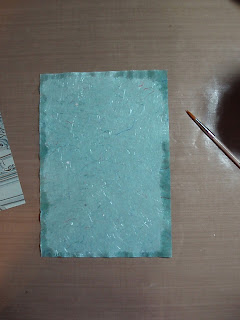 |
| Wet edges with clear water. |
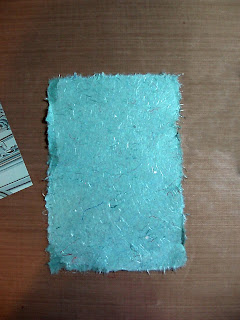 | ||||
| Pull paper at a 90° angle from the edges. |
7. Trim the headline and place it onto a layer of brown card stock with a 3/16" border all around. Adhere the oval die cut subhead to the right side.
8. Place the KellyCraft Get-it-Straight Laser Square on your work surface. Line up the lower background piece in the corner of the Laser Square. Turn on the laser light and attach the top background paper 3/8" from the edge all around.
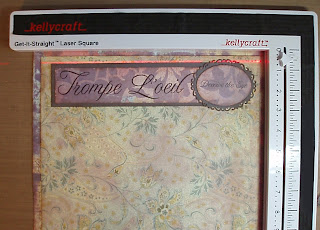 |
9. Place the headline piece approximately 3/8" from the top of the upper background piece. |
 |
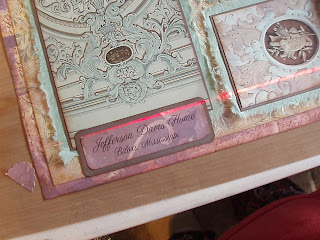
12. Print journaling on matching card stock, Use a scrap of
one of your printed papers to cut a piece of the small scalloped edged oval punch. Ink
edges and adhere to journaling block. Slip it between the photo/card stock
layer and the mulberry papers.
 | ||
| 13. Apply Viva Décor Pearl Pen to title block. |
Now, instead of a stack of photos that are shoved in a drawer, just waiting for someone to dump them when I'm gone, they are showcased on this page with an explanation of why I love them so much. This will go into my "...a few of my favorite things..." album. I think my next entry in that album will be a page about why I love my KellyCraft Get-it-Straight Laser Square!
Maybe today is the day for you to begin recording your favorite things.



No comments:
Post a Comment