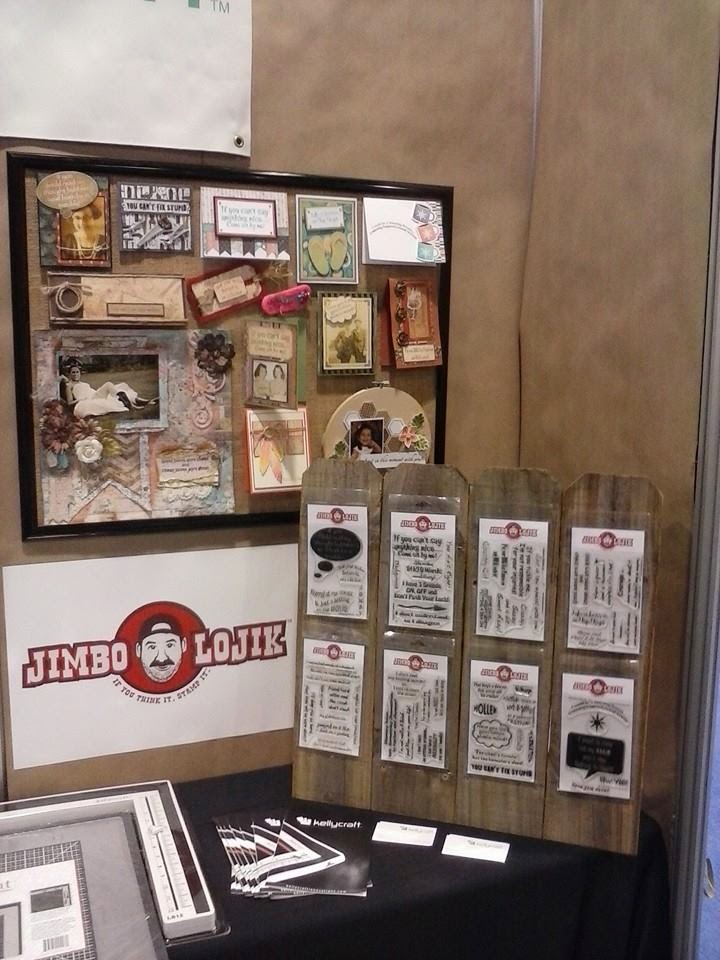
Come Sit By Me!
I created this card using the Get-It-Straight™ Laser Square, Multi-Mat™ and Jimbo Lojik™ Stamp Set J. With these tools it is very easy to align and assemble my projects.
Materials:
KellyCraft™ - Get-it-Straight™ Laser Square
- Multi-Mat™
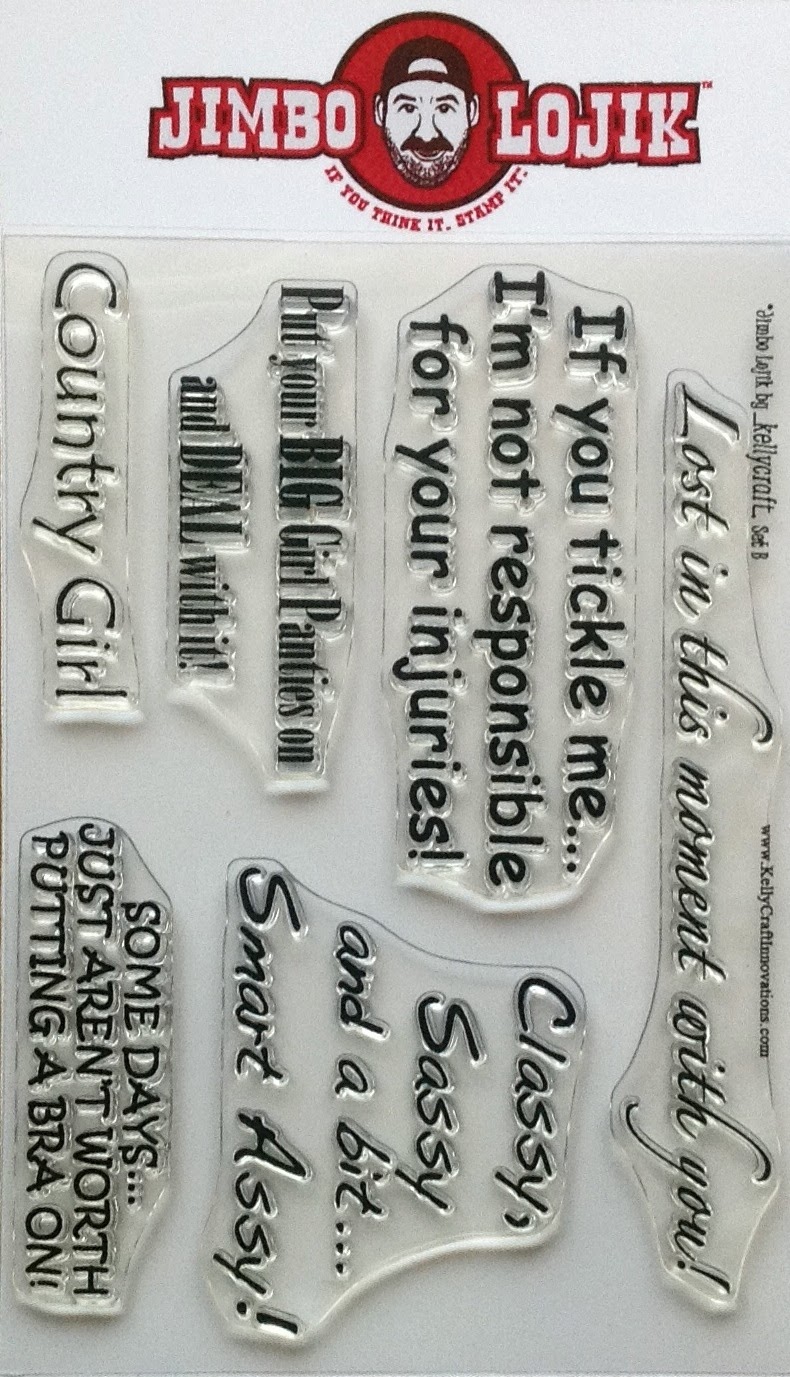
- Jimbo Lojik™ Stamp Set J
Stampin Up - Card Stock Very Vanilla and Raspberry Ripple, Modern Mosaic Embossing Folder
Sizzix BigShot
Memento Black Tuxedo Ink Quick Quotes
PowerPuff Chalk Ink Razzberry
Ranger- Distress Ink Antique Linen, Distress Ink Victorian Velvet, Blending Tool
Snail Adhesive
Dimensionals
Glue Dots
Bella Blvd. Feathers
Instructions:
1. Cut all the pieces to build the card. The size of the card is a regular size 5-1/2"x4-1/4". The second layer is 5-1/4" x4" the third is 5"x1-1/2."
2. Create the embossing for the second layer using the Modern Mosaic Embossing Folder and your Big Shot.

3. Paste this layer directly over your card base aligning this with the Get-It-Straight™ Laser Square.

4. Ink you stamp with Memento Black Ink and use Get-it-Straight™ Laser Square to align and stamp your message.

5. Put some dimensionals behind your message and use Get-it-Straight™ Laser Square to align and paste this on the bottom part.
6. Now using a chipboard piece to finalize the decoration of the card . First ink the entire piece with a neutral color of Distress Ink like Antique Linen, then stamp a main image with another color and finally ink the borders with PowderPuff Chalk Ink Razzberry from Quick Quotes.

7. Take a green Feather from Bella Blvd and use a glue dot to paste it behind the chair. Attach the
chair to the card and give it your personal touch.
I hope you liked the project and come back soon for more inspiration!


.jpg)


