Showing posts with label CTMH. Show all posts

Monday, February 9, 2015

COURAGE Layout by Kristin Kelly

COURAGE 
Designed by Kristin Kelly

You might not think it would take a lot if courage to get on a mechanical bull, but for an autistic child, it takes a little more than most. James loves the rodeo, but watching and participating are very different! After a little encouraging, he got on the bull and thankfully for an understanding operator, he had a great time. And the Jimbo Lojik stamp fit this experience perfectly! James was pretty scared, but he saddled up anyway, and it turned into a great layout with the help of KellyCraft.

Materials:

KellyCraft™ - Get-it-Straight™ Laser Square and Multi-Mat™
                      - Jimbo Lojik™ Stamp Set E
• CTMH  Sarsaparilla paper pack, Durables Squares, Burlap Ribbon and Desert Sand Re-inker
• Cricut Art Philosophy and Plantin Schoolbook cartridges
• Jolee's boutique stickers
• Scotch ATG and Pop Dots


Instructions:

1. I started with a 12x12 base. Then cut a patterned paper 11x11, inked and distressed the edges and
adheredusing my KellyCraft™ Get-It-Straight™ Laser Square and Multi-Mat™.

2. Next I cut the edges off of the burlap ribbon, to make it narrower and to have the edges frayed, and lined it up with my Get-It-Straight™ Laser Square and adhered.


3. Then I cut a 3x12 patterned piece, inked and adhered flush with the right edge and another patterned piece 1/2x12 next to it.

4. I wanted the 3 1/4x3 1/4 photo mats to be 1/4" apart, so I set my laser at 6", then went up 1/8" and down 1/8" to get the spacing and adhered after inking the edges.

5. Next, I cut photo mats 5 1/4x7 1/4, 5 3/4x7 3/4 and 6 1/4x8 1/4. Inked and distressed the edges, and put together using my Get-It-Straight™ Laser Square the adhered to the layout again using my Laser Square.

6. Then I cut the title using the Cricut Plantin Schoolbook cartridge. After placing the C, I set a line with the Laser Square to align the remaining letters. Then I tied burlap ribbon pieces around some of the letters.

7. Next I adhered the pictures, then I cut a rectangle for the stamp and one to mat with the Cricut Art Philosophy cartridge and inked the edges. Then I used the Get-It-Straight™ Laser Square to stamp my Jimbo Lojik™ phrase.


8. Then I adhered the phrase and the square durables using the Get-it-Straight™ Laser Square to align on the
burlap ribbon.

9. Finally I placed the Jolee's stickers to complete the layout of our courageous boy!

Tuesday, November 18, 2014

Fear the Beard! Card by LaJeania Hicks


"Fear the Beard" Card 
Designed by LaJeania Hicks

The new Duck Commander® stamps from KellyCraft™, are perfect for creating masculine cards. It seems I am always searching for stamps to make cards for the men in my life. These stamps are perfect for our family that loves Duck Dynasty® and the Robinson family. I created this Fear The Beard card for a friend who has been growing out his beard for a while now and it is perfect for No Shave November. Of course I used the the KellyCraft Get-It-Straight™ Laser Square and mat to line up all of the layers perfectly.

Materials:

KellyCraft - Get-It-Straight™ Laser Square
                  - Multi-Mat™
                  - Duck Commander® Clear Stamp Set 1
CTMH - Timberline Paper Pack – Close To My Heart
             - Chocolate Ink Pad
             - Solid cardstock, 1 sheet Chocolate, 1 sheet Bamboo
             - Durables Triangle Studs
Adhesive (Glue Dots, Pop Dots, Scotch ATG)


Instructions:

1. Cut a piece of Chocolate card stock at 5”x7” and one piece at 3.5”x4”. Cut the wood grain patterned paper at 6.75" x 4.75".  Cut
the hounds tooth patterned paper at 3.25”x3.75” and the bamboo cardstock at 3”x3.5”.  Next, sponge ink the edges of all pieces of paper with the Chocolate ink.

2. Use your Get-It-Straight™ Laser Square to stamp the images on the Bamboo Cardstock using Chocolate ink.


3. Use your Get-It-Straight™ Laser Square to align the mats to create layers.


4. Use your Get-It-Straight™ Laser Square to attach the center image using pop dots.


5. Using the Get-It-Straight™ Laser Square makes it easy to line up the Triangle Studs perfectly.

This card was so simple and easy to put together using the Duck Commander® Stamp Set and the  Get-It-Straight™ Laser Square.

Wednesday, November 12, 2014

"Work Hard, Nap Hard" Layout by Kristin Kelly


"Work Hard, Nap Hard" Baby Layout 
by Kristin Kelly 

Oh the life of a little one! When work was all about play and the naps were frequent. One might not think of a baby picture layout when looking at the new Duck Commander® stamps from KellyCraft™, but the 'Work Hard Nap Hard' stamp made me think of all the cute pictures we have of James doing his baby 'work' and the naps that followed :). 

Materials: 

KellyCraft™ - Get-it-Straight™ Laser Square
            - Multi-Mat™
            - Duck Commander® wood mount stamp - “Work Hard, Nap Hard”
Cricut™ Artiste cartridge
CTMH - Stardust paper
  - Keepsake and You Are My Happy alphabet stamps
    - Inks, sander and edge distresser
Scotch ATG 
Pop Dots
Paper trimmer, scissors 

Instructions:

Gather your supplies and cut your papers as follows: 
12x12 white card stock bases
(2) 6x12 pattern 1
(1) 6x8 and (1) 4x12 pattern 2
(2) 1x12 pattern 3
(4) 6 1/2x4 1/2 and (4) 3 1/2x3 1/2 blue mats
(2) 6 1/4x4 1/4 green mats

1) I like some good distressing, so I sanded my blue photo mats. Then I distressed the edges of the green photo mats. All other edges I inked with coordinating colors. 

2) Once you adhere the large patterned pieces, use your Get-it-Straight™ Laser Square and Multi-Mat™ to place your strips.  Adhere in place.  

An awesome thing about the laser is that it will shine all the way across both pages, so you will be sure your strips will match from page one to two!

And on a complete side note, it shines so far that if you have cats, they will be entertained while you scrapbook! Here's my cat Pumpkin trying to get the laser as I work :)


3) Now it's time to stamp your titles. I did not use my alphabet stamps very often because I
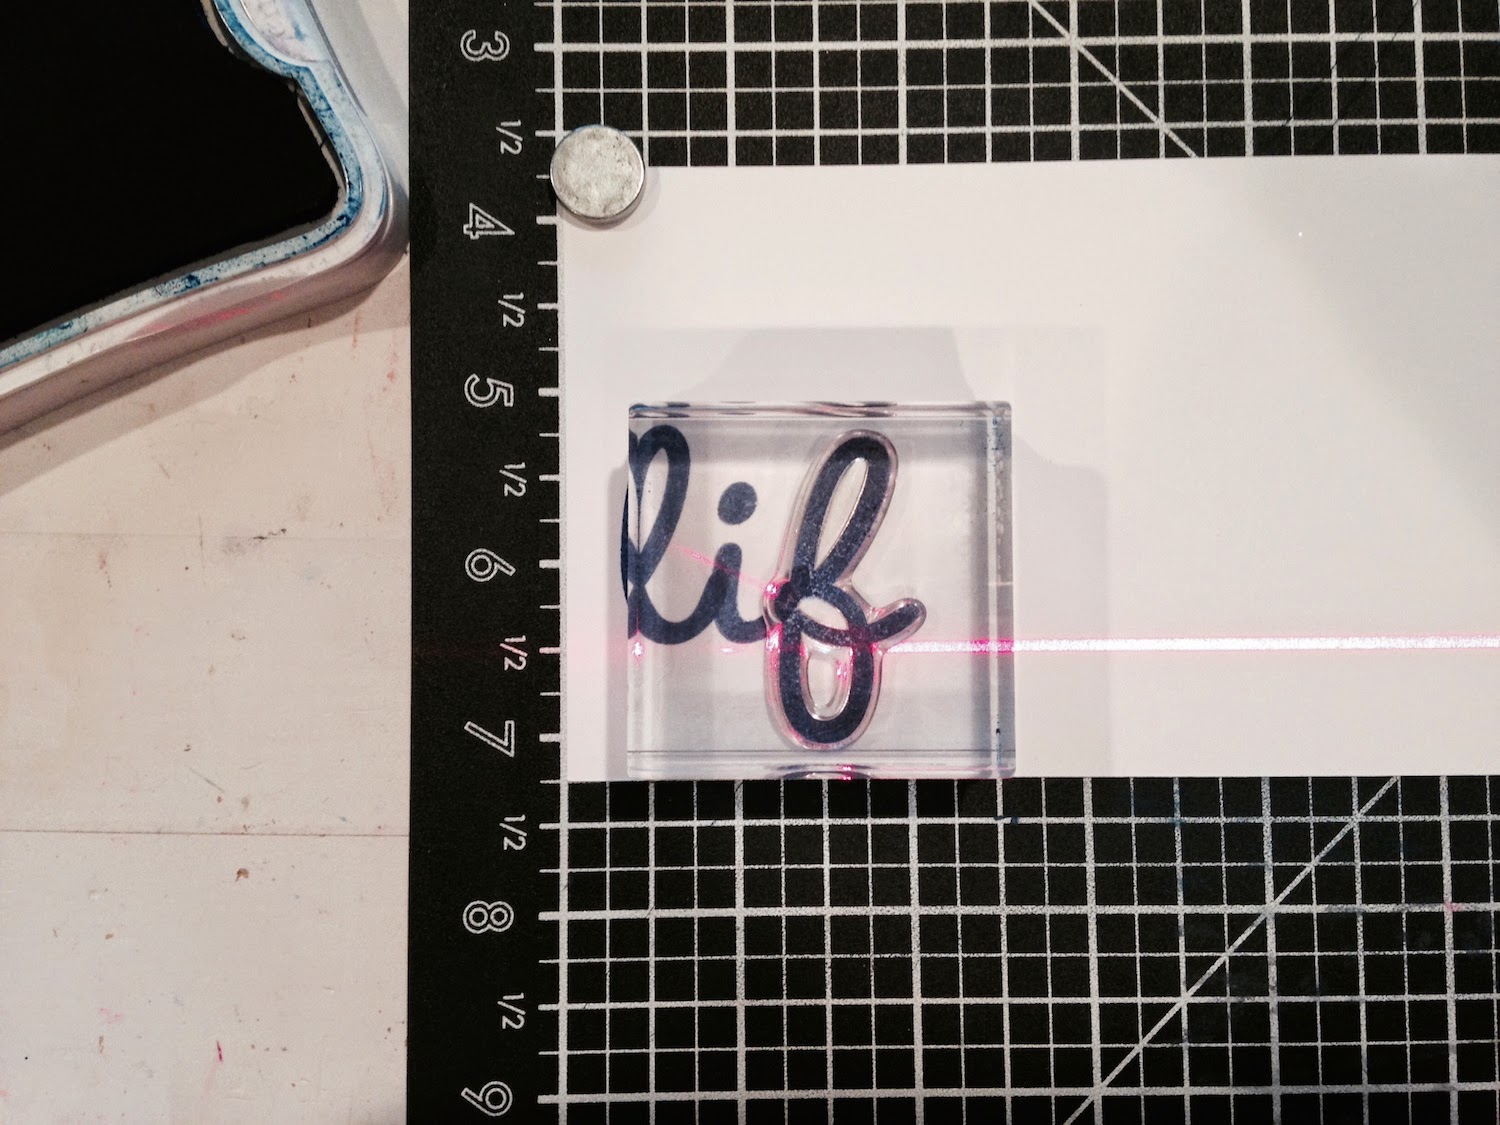
could never get them stamped straight. So, if I wasn't cutting out the letters and placing them individually, I wasn't stamping. With the Get-it-Straight™ Laser Square, I can stamp with confidence! I used scrap card stock, and held it in place with the magnets that come with the Multi-Mat™. Then, shine your laser and go to stamping. You can see the laser through your blocks when using clear stamps so placement is a breeze!

I stamped "life" and "little," then cut them out and set aside. I cut out the gears in different sizes on various patterned papers and card stocks using the Artiste Cricut cartridge. 

4) I cut a circle for the 'Work Hard Nap Hard' stamp and centered that circle on my Multi-Mat™ and held it in place with the magnets. Now, even though this stamp is on a wood block, you can still use the Get-it-Straight™ Laser Square to get it straight and centered. Knowing the center of your circle and the height of the stamp, you can place your laser half the height of the stamp down from the center of the circle and line the edge of the stamp with the laser line.


5) Now adhere your photos and mats together and tie your ribbons. Adhere the larger gears, followed by the photos and mats using your Get-it-Straight™ Laser Square to make sure they're straight! Then stamp the rest of the title. 


6) Pop dot 'life' and 'little' and using your Get-it-Straight™ Laser Square, adhere them in place. Then, shine a line about 3/4 inch from the bottom of page 2 and using a paper piercer pierce 3 holes for brads.


Turn page 1 on its side and do the same. Put in your brads and then place the remaining gears with Pop dots and you have a finished layout!