

Christmas Bling
Designed by Kristin Kelly
Tis the season for... Bling! Nothing brings out sparkle and shine like Christmas time! I thought at first I may have gone a little overboard with the glitter paper, but I love how it turned out, and is there such a thing as too much glitter? Not in our house with an 8 year old girl around:) And this was made merry and bright and straight with my KellyCraft Get-It-Straight™ Laser Square and Multi-Mat™. No crooked ornaments here!
Materials:
KellyCraft - Get-It-Straight™ Laser Square
Multi-Mat™
CTMH Sparkle and Shine paper pack, glitter paper and ink pads
Cricut Artiste cartridge
Sparkle flourishes
Scotch ATG and adhesive
Pop Dots
Glue Dots
Embroidery floss
Instructions:

1. Cut one pattern paper to 12x8 and another to 11x4. Then cut 3 photo mats 5.5x7.5, 6x8 and 6.5x8.5. Ink your edges with coordinating inks. Adhere the patterned paper to a cardstock base and using your Get-It-Straight™ Laser Square, adhere a 1/2" strip at the seam.
2. Time to hang the ornaments! Cut various sized ornaments out of coordinating patterns and cardstocks with the Cricut and cut the backgrounds out of glitter paper. Then tie the embroidery floss to the ornaments and adhere to your layout. Now, use your Get-It-Straight Laser Square to line your floss straight to the top of the layout, and adhere on the back with a Glue Dot.
Repeat for all ornaments.
3. Use your Get-It-Straight™ Laser Square to adhere your mats and photo, then adhere to your layout.
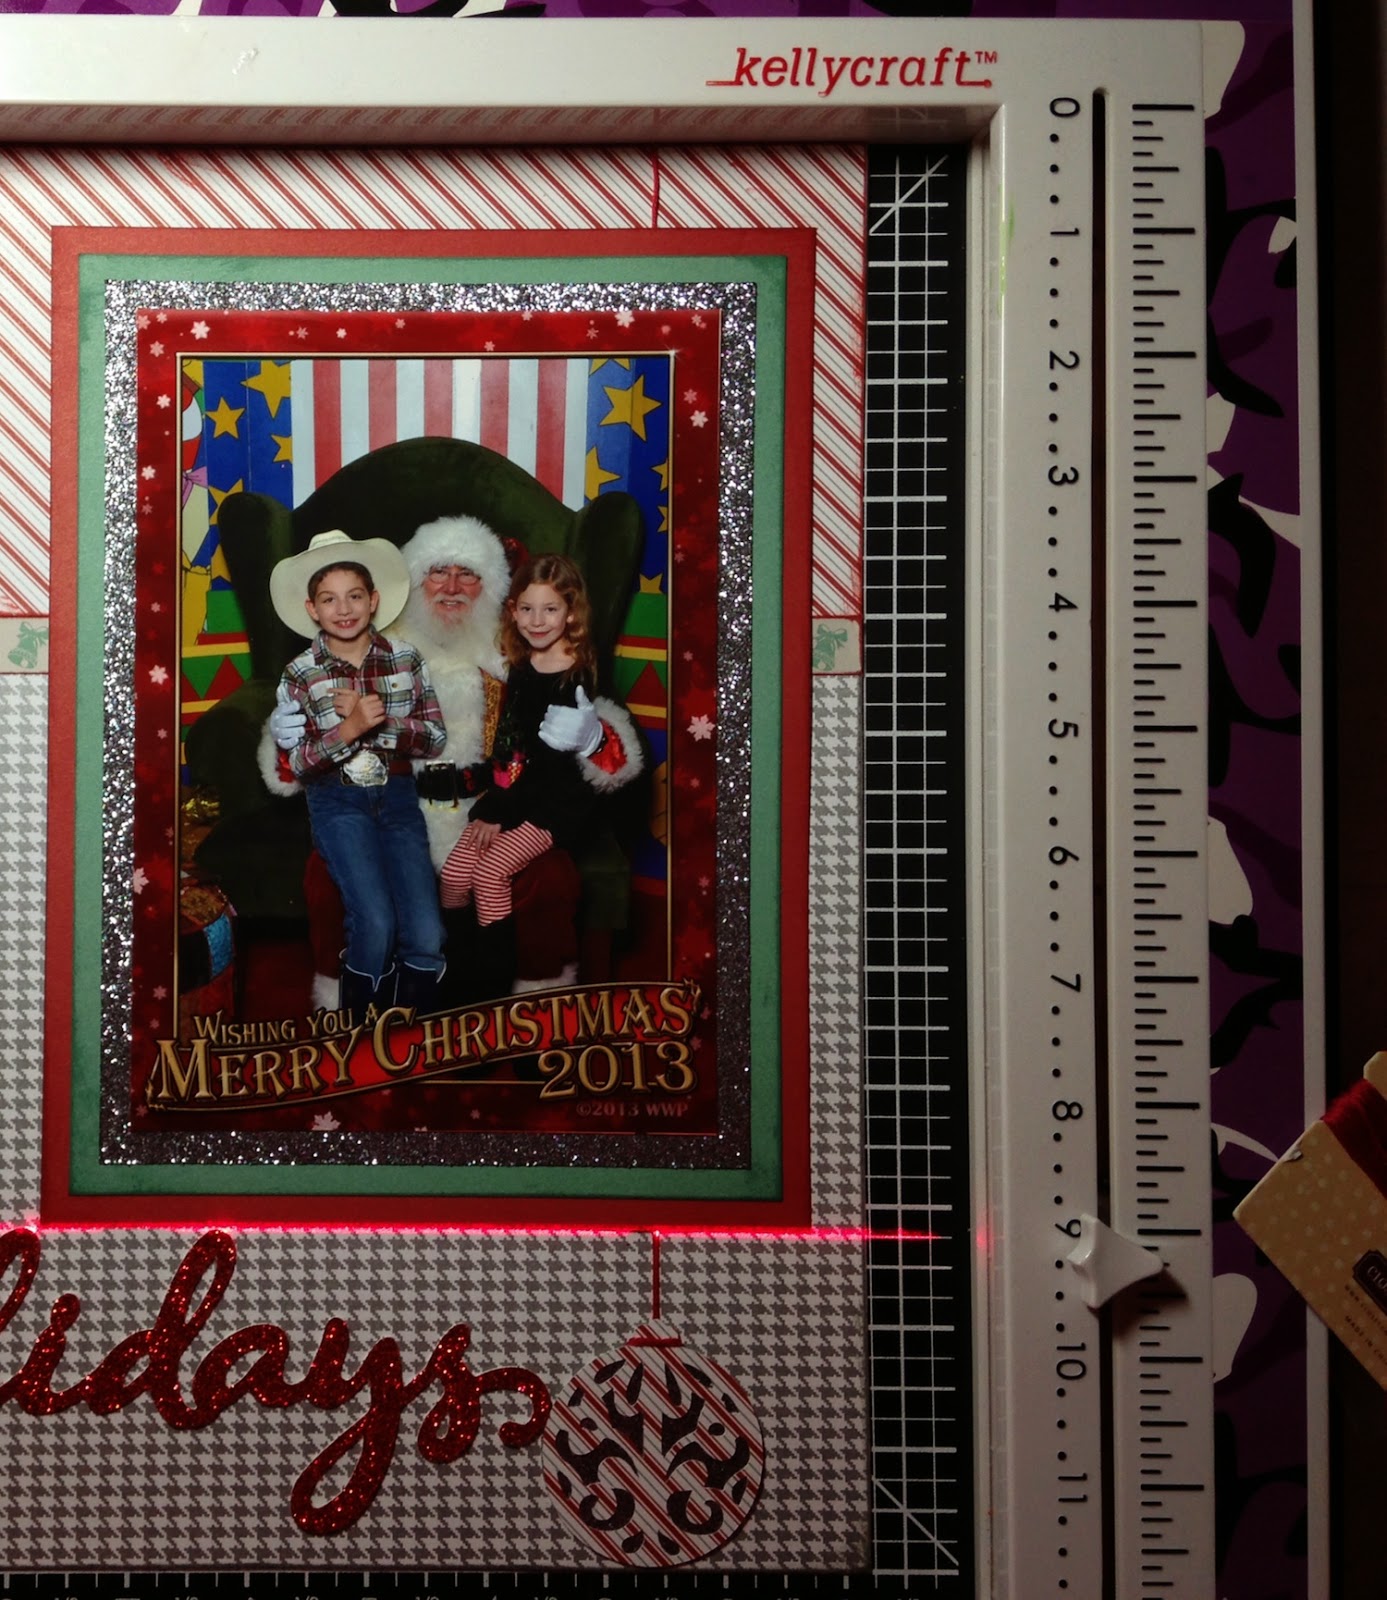
4. Cut your title out of glitter paper with the Cricut, then using your Get-It-Straight™ Laser Square, adhere the title with Pop Dots.

5. Adhere sparkle flourishes.
Complete! Made quickly, easily and STRAIGHT with the KellyCraft Get-It-Straight™ Laser Square. Now hopefully I can get this years Santa picture done before next Christmas;)
GORGEOUS!!
ReplyDeleteBeautiful page. I love how you create this amazing layouts. Congratulations!
ReplyDelete